It has the lowest fees in Ecuadorian Market, for more information you can ckeckout the official website https xchange la sobre-xchange.
Once installed, go to Woocommerce -> Settings Pick Checkout Tab and once on that tab go to Payment gateways and click on Xchange, once on Xchange, click on Enable Xchange, and put your Xchange data.
Also, we put the default wordpress, checkout requirred fields as mandatory before Xchange Modal pop ups like, #billing email if you add your custom requirred fields, please add them on Form Validation Fields Xchange tab, on this format Ex #billing email., #my custom field., #my custom field2 always use the #id css format.
So test before implementing, here is some sandbox credit card numbers and data to test, https xchange la docs Once you see that the order has been marked on the checkout page as processed, sandbox.
By the way, on sandbox, for security reasons, payments and are not processed in xchange and the order is not recorded in woocommerce.
Go to your folder and go to wp-content plugins and upload the folder on this route.
Later go to your domain com wp-content And go to Inactive Plugins area and press activate plugin.
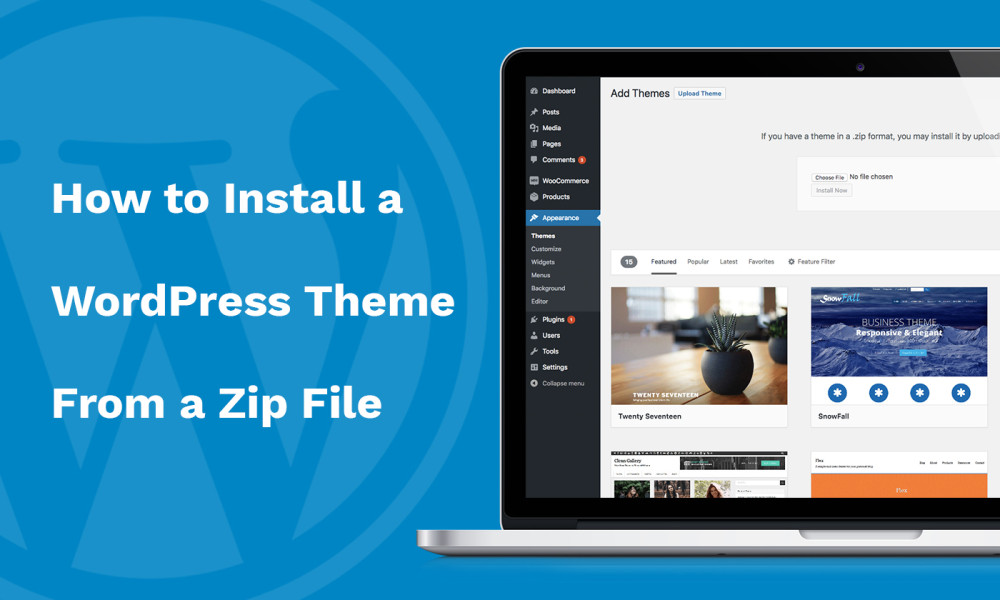
If the folder is zipped, go to wp-admin area go to Plugins-> Add New -> Upload Plugin-> Select File and press Install now...
Browse the code, check out SVN repository, or subscribe to the development log by RSS... 1.0.0.
Read more
Related items: